
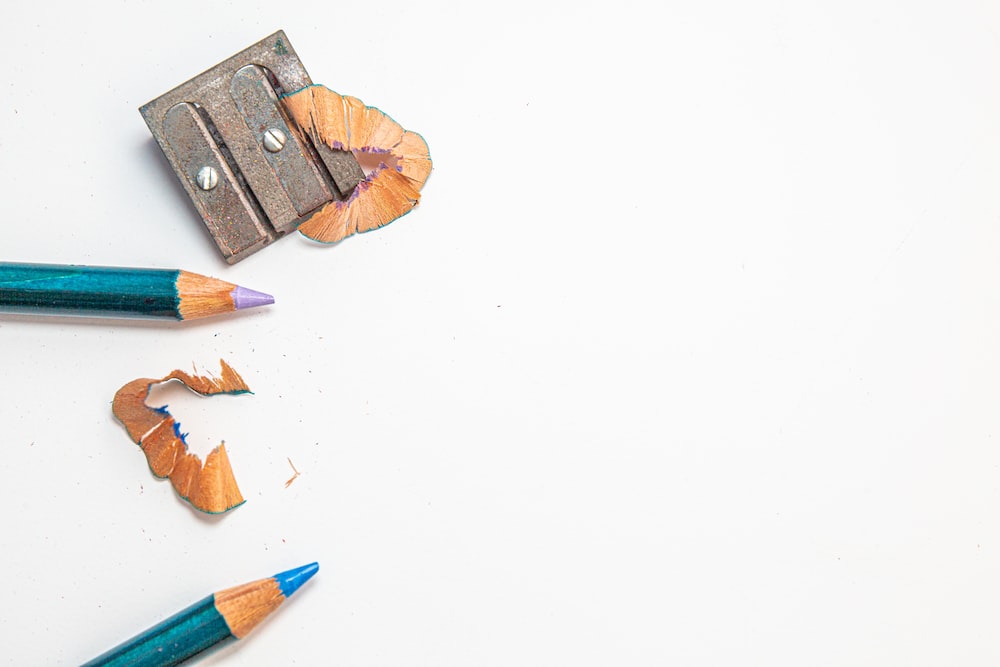
Pencil sharpeners are essential for keeping your pencils sharp. However, the blades in handheld sharpeners may become dull or blocked, necessitating replacement or cleaning.
Here is the process:
- Position the sharpener with the blade facing up.
- Use the appropriate screwdriver to remove any screws holding the blade in place.
- Invert the sharpener to let the blade fall out or gently shake to facilitate removal.
- Sharpen or replace the blade as needed.
- Reattach the blade by aligning it with the corresponding hole and tightening the screws.
Fortunately, the process is simple and only requires a screwdriver and a few minutes. After removing it, you can proceed to clean or sharpen them.
Tools and Materials for Blade Removal:
Screwdriver: A small Phillips head screwdriver or a flathead screwdriver (as per the sharpener’s screw type)
Pencil Sharpener:The sharpener containing the blade to be removed.
Gloves: You can wear gloves for safety.
Blade Removal from a Sharpener: Top Method
Method 1: Blade Removal
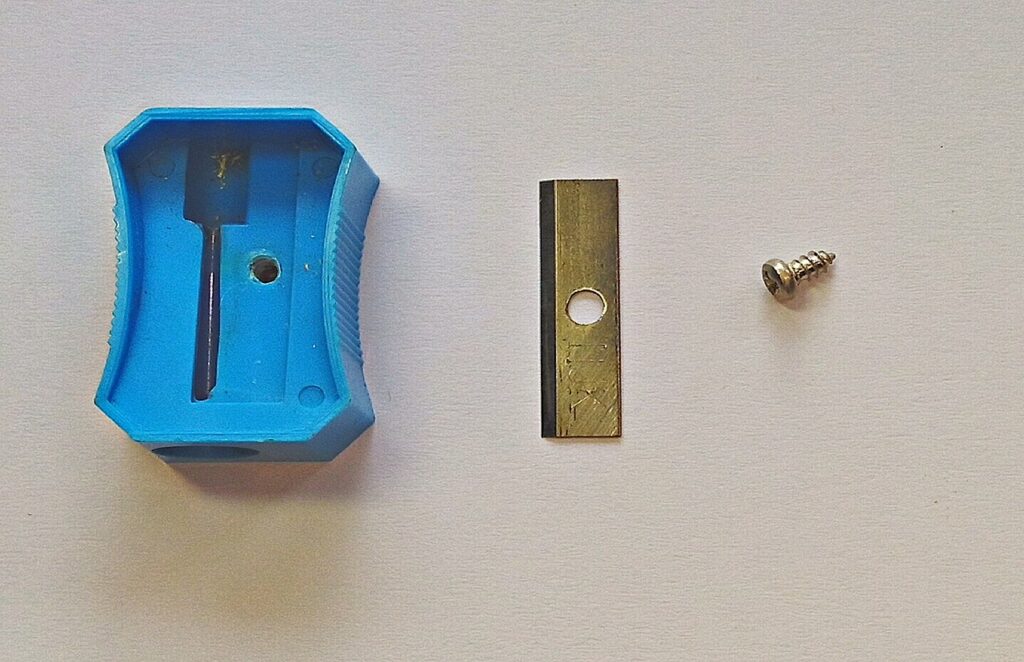
1. Position the Sharpener for Blade Access: Begin by placing the pencil sharpener with the blade facing upward. Place the screwdriver on a stable, flat surface and ensure that the blade part of the sharpener is oriented upwards.
2. Select the Appropriate Screwdriver: Most pencil sharpeners are equipped with small Philips head screws to secure the blades. To proceed, select a small Philips head screwdriver that matches the size of the screw holding the blade. It may require some trial and error to find the correct size. In cases where a flathead screw is used, be prepared to use an appropriate flathead screwdriver. If you lack a dedicated screwdriver, improvising with a small, flat object that fits the screw, such as a paperclip, can be a viable alternative.
3. Unscrew the Blade: Insert the screwdriver into the screw and rotate it counterclockwise, or to the left. Continue turning the screwdriver until the screw is fully removed. It’s worth noting that sharpening blades typically have one or two screws, so ensure you remove all screws you encounter. Keep track of the removed screws for reassembly.
4. Blade Extraction: With the screws removed, the blade can be easily released. Turn the sharpener upside down, and the blade should fall out naturally; you may need to give the sharpener a gentle shake to facilitate this. Avoid attempting to manually extract the blade with your fingers to prevent potential injury.
5. Repeat for Multiple Blades: If your sharpener houses multiple blades, simply repeat the aforementioned steps for each blade. Remove the screws and invert the sharpener to allow the blades to drop out.
6. Sharpen or Replace the Blade: If your blade is dull, sharpen it using a sharpening stone. Wet the stone with water and gently move the blade back and forth at a 20-degree angle until it sharpens, which typically occurs after a few passes. If sharpening proves challenging due to the small size of the blade, consider using a fresh replacement blade provided by the manufacturer. Alternatively, a quick cleaning with alcohol can also rejuvenate a blade that is not sharpening effectively.
7. Reattach the Blade: To complete the process, return the blade to its original position in the sharpener, ensuring that the blade hole aligns with the corresponding hole in the sharpener. Reinsert the screw and tighten it by rotating it clockwise until it’s secure. If the blade features multiple screw holes, ensure all of them are correctly aligned.
Method 2: Disassembling the Housing
1. Remove the Lid: Some pencil sharpeners feature a detachable lid or canister for collecting pencil shavings. Carefully lift the lid off the cup, ensuring any accumulated shavings are disposed of properly.
2. Unscrew the Sharpener from the Lid: Flip the lid upside down to reveal the screws securing the sharpener to the lid. Utilize a Philips head screwdriver to remove these screws, allowing the sharpener to be separated from the lid. Keep track of the screws for reassembly purposes. The number of screws may vary, so ensure you remove all that are visible.
3. Slide Out the Sharpener: In cases where the sharpener is encased within a plastic housing, slide it out from the open side to gain access to the sharpener blades. Not all sharpeners incorporate a plastic housing, so this step may not be necessary.
4. Remove the Blades: Once you’ve disassembled the sharpener housing, the blades become accessible. Remove them by unscrewing the screws that secure them in place. Note that the screwdriver fitting the lid’s screws may differ from the one needed for the blade screws.
FAQ’s
How do you get a blade out of a sharpener without a screwdriver?
To remove the blade from a pencil sharpener without a screwdriver, look for a lever or button around the base of the sharpener that you can press to release the blade.
Why won’t the blade come out of my pencil sharpener?
If the blade won’t come out, it may be due to a stripped screw. In such cases, you’ll need a screwdriver that can grip onto the worn-down notches in the screw for removal.
Is there a blade in a sharpener?
Yes, pencil sharpeners have blades for quick sharpening. Regularly changing these blades helps maintain the sharpness of your pencils.
How do you get a blade out of a plastic razor?
To remove blades from disposable razors, apply pressure on the handle while holding the razor with blades down, allowing the blades to pop out after releasing the pressure.
Does sharpening a blade damage it?
Yes, Over-sharpening a knife can potentially damage the edge and make it duller. It’s crucial to sharpen a knife only when necessary and at the correct angle to maintain its sharpness.
Final Words
To wrap up, the blade removal process for a pencil sharpener is both accessible and uncomplicated. With the aid of a basic screwdriver and a systematic approach, you can maintain the functionality of your sharpener by effortlessly cleaning or replacing the blade when necessary.
By following these steps, you ensure that the sharpener remains in excellent working condition, providing you with consistently sharp pencils for your various creative and writing endeavors.